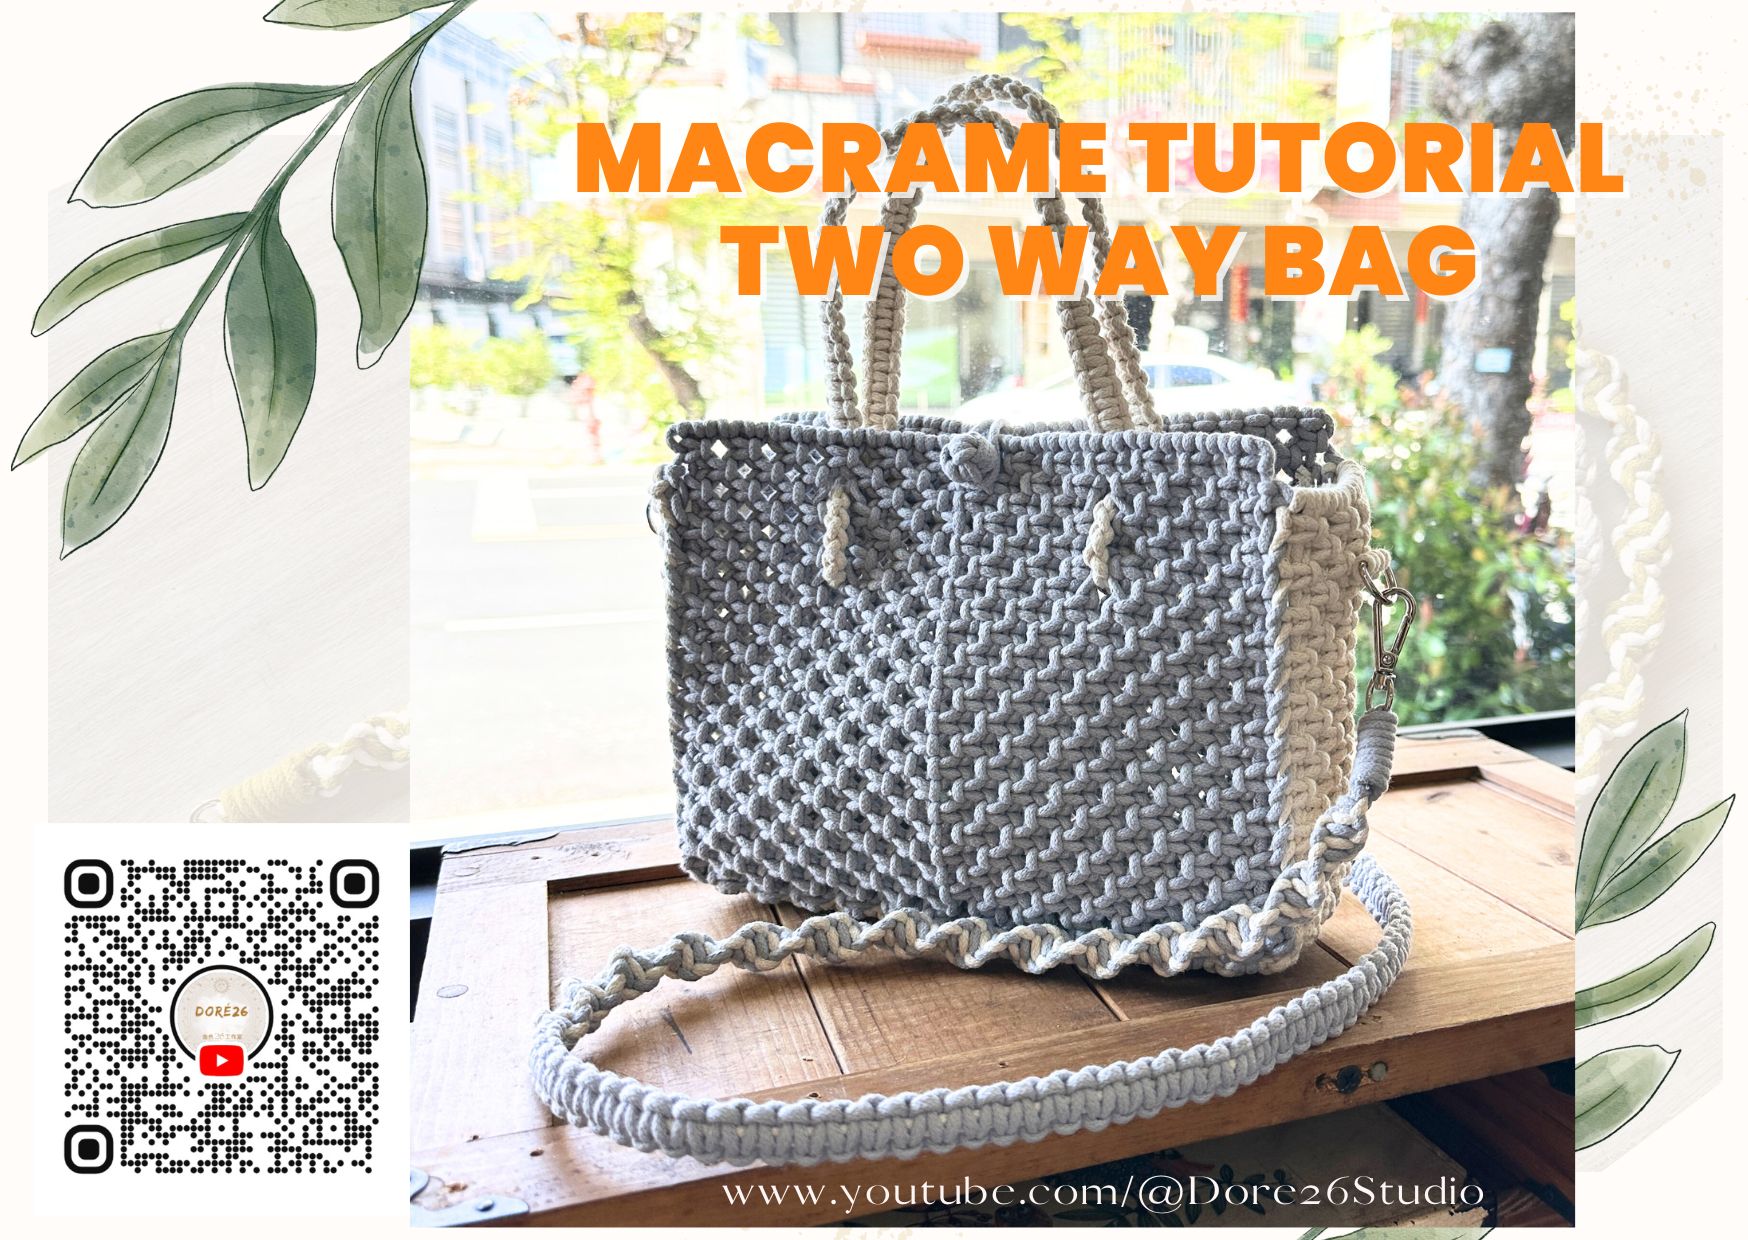
Dual-purpose woven bag: design concept, production steps and multiple uses
Hand-woven bags have always been the perfect combination of fashion and craftsmanship, and the Macramé Two-Way Bag is a work that combines practicality and beauty. This article will explain in detail how to create this handmade bag from the perspectives of design concept, production method and practical application, so that you can not only have a unique work but also enjoy the fun of weaving.
Design concept: both function and aesthetics
The core of the design of this dual-purpose woven bag isThe perfect combination of versatility and style. Key features include:
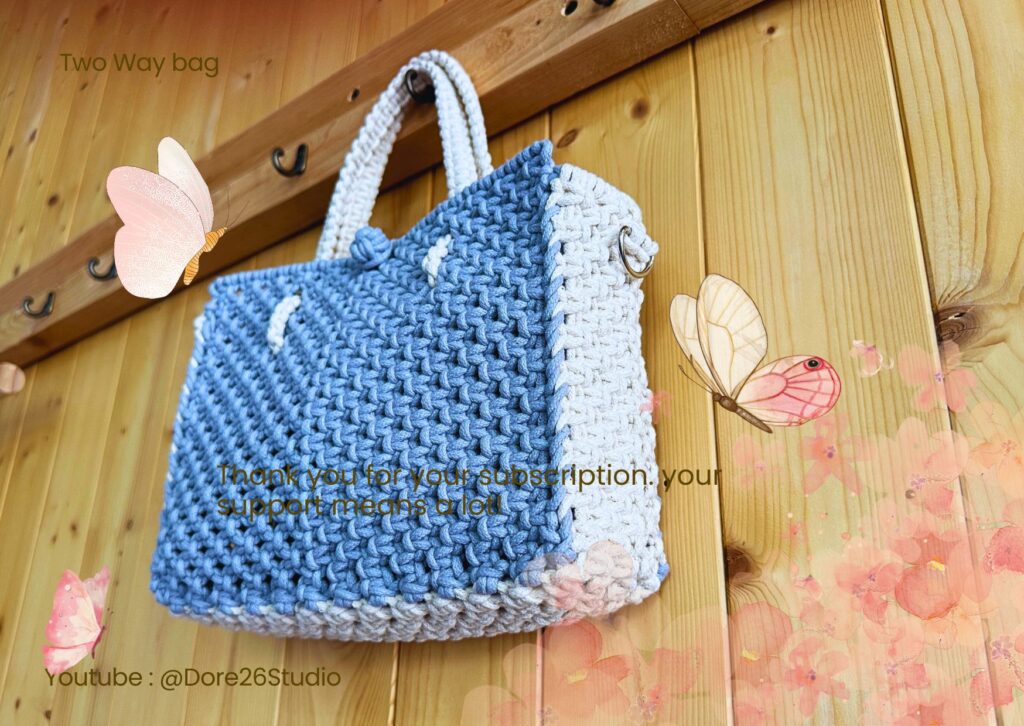
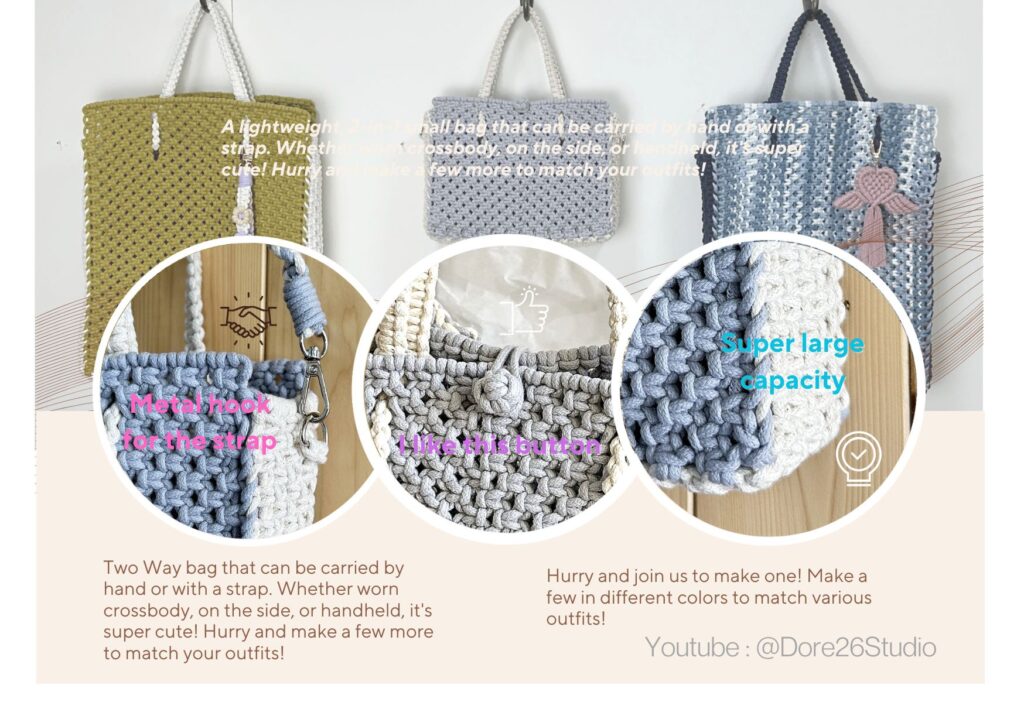
- Double-brew design: Can be carried by hand or on the shoulder, suitable for all kinds of dressing styles.
- Lightweight and durable: Use wear-resistant and fine-textured braided wire to ensure the bag is light and sturdy.
- Three-dimensional woven texture: The unique weaving structure enhances the texture, making it both fashionable and practical.
- All-match color: Simple color design, suitable for different occasions and clothing styles.
This design is not only suitable for daily use, but also meets the needs of different occasions. Whether it is casual outings, dates, or even formal occasions, it can be easily handled.
Material preparation
Before you start making, you need to prepare the following materials:
- Macramé Cord: It is recommended to use 3mm thick cotton thread to ensure that the bag is stable and beautiful.
- Hooks and Hardware Accessories: Used to install the detachable shoulder strap, providing dual-use function.
- Scissors: Used to trim the length of braided wire.
- Ruler: Make sure each line is the correct length to maintain symmetry and beauty.
- Large eye sewing needle (or crochet hook): Convenient for threading and detail processing.
Production steps
Step 1: Cut the braided wire
Cut the braided wire to the appropriate length according to the design size. For detailed specifications, please refer toVideo Tutorial.
Step 2: Make the bottom and the body
- Bottom weaving: Use square or rectangular weaving to ensure the bag structure is stable. The bottom weave can be completed using a Square Knot or a Half Hitch Knot.
- Package weaving: Choose "Diagonal Clove Hitch" or "Berry Knot" to create a three-dimensional texture and make the bag more layered.
Step 3: Install the handle and shoulder strap
- Handle: The handle can use a "Twisted Rope Handle" to increase the grip and aesthetics.
- strap: With a detachable metal buckle and a braided shoulder strap, it can be carried on the shoulder or by hand.
Step 4: Detailing and finishing
- Trim excess thread to ensure neat edges.
- Lightly burn the end of the cotton thread with a lighter to prevent the thread from unraveling (only applicable to some synthetic fiber threads).
- You can add a magnetic buckle or drawstring to enhance the security and design of the bag.
Multiple uses, suitable for different occasions
This double-purpose woven bag can be used in a variety of ways, making it a versatile piece for your everyday look:
- Portable Mode: Suitable for elegant style, suitable for formal occasions or daily outings.
- Shoulder/crossbody mode: Suitable for light travel, providing a more flexible way of carrying, suitable for shopping or traveling.
In addition, by changing the color and weaving method of the wire, you can create bags of different styles, such as:
- Monochrome minimalist style: Suitable for people who like simple fashion.
- Contrast color design: Add a sense of layering to make the bag more personalized.
- Tassel embellishment: Add a bohemian touch and make the overall look more artistic.
Conclusion: Create your own fashion items
The dual-use woven bag is not only a functional and beautiful handicraft, but also a way to express personal style. Through simple weaving techniques and creative changes, you can easily create a bag that is both practical and fashionable.
Start making your own Macramé double-use woven bag now! For more detailed instructions, please watch ourFull video tutorial:Chapter 1 Chapter 2🎥✨
Leave a Reply
You must be logged in to post a comment.